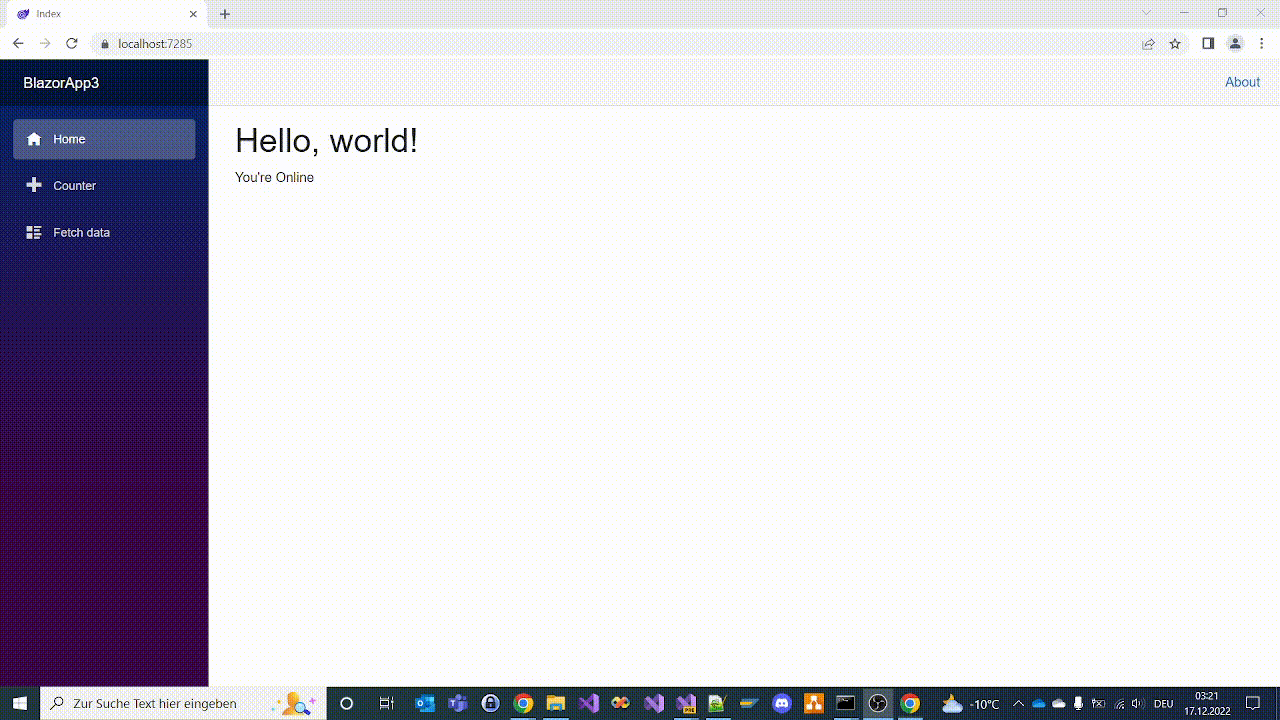
This will help you to show the content based on the application connectivity to internet. As you can see, you can use the Online and Offline components to show the content when the application is online or offline.
You have for example many github repositories with well-done documentation and you want to use those files (*.md) in your own Blazor application? This is very simple. You only need to follow this article.
Introduction
To convert a DM file (a file with the .dm extension) to HTML in Blazor, you’ll need to use a library or tool that is capable of parsing the DM file and generating the corresponding HTML output.
One option is to use the Discord Markdown Parser library, which is a Python library that can parse DM files and generate HTML output. You can use this library by calling its API from your Blazor code using HttpClient.
Easy peasy…
If you want to simply display the content of your file, you can install and use the library Markdig.
Installation
You can install the package like this:
Nuget:NuGet\Install-Package Markdig
.NET CLI:dotnet add package Markdig
How to use?
Here’s an example of how you can use the Markdig library to convert a DM file to HTML in Blazor:
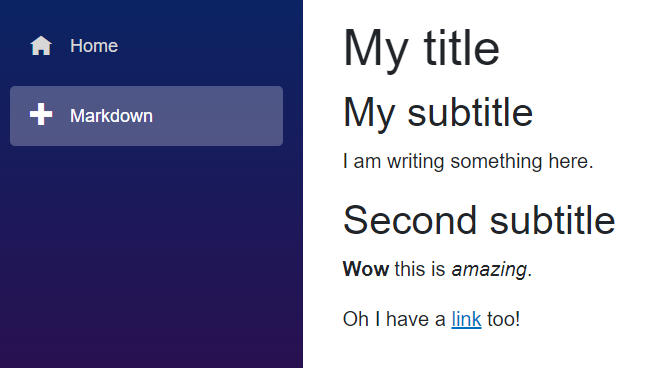
For your info, I placed the file MarkdownFile.md in wwwroot in my Blazor WASM sample app. Here is the content of this file:
# My title
## My subtitle
 I am writing something here.

## Second subtitle
**Wow** this is _amazing_.

Oh I have a [link](https://mahdhi.com/) too!
And if you run your application, the result will be:
Displaying Markdown file content in Blazor
Conclusion
Keep in mind that this is just one way to convert a DM file to HTML in Blazor. There may be other libraries or tools that you can use for this purpose. If you know more about this subject ? Please share 😀
What are guard clauses ? Guard clauses are true/false expressions (predicates) found at the top of a method or function that determine whether the function should continue to run. Guard clauses test for preconditions and either immediately return from the method or throw an exception, preventing the remaining body of code from executing.
Example
A common example is to check if an argument is null and throw an ArgumentNullException. However, one may be performing other forms of validation on arguments such as if dates fall within a certain date range, integer values are positive, strings are a certain length, etc. Any assumptions about the arguments or state of the object that are being made by the remaining block of code are typically made explicit by the guard clauses.
void Add(User user)
{
    // Guard clause
    if (user == null)
        throw new ArgumentNullException(nameof(user));

    // rest of the code...
}
Before some days I started a new project with blazor. I am using a MySQL database and I tried to work somehow with json documents in MySQL. During searching, I met this gratefull page : https://www.sitepoint.com/use-json-data-fields-mysql-databases/ . Then, I decided to create a nuget package that should do the full communication between my application and the json oriented database. Ready to know more? Let’s go!
Installation
In order to use the package, you just need to install it from here. Or directly with command:
Install-Package Xamabrouk.MySQLJsonBased
This package is using two other important packages :
Xamabrouk.MySQLJsonBased.Entity : Provides entities used in the package. (Installation)
Xamabrouk.MySQLJsonBased.Interface : Provides interfaces used in the package. (Installation)
Let’s code !
First of all, we create a new console .Net core project. The we install our package.
Then let’s say you want to manage user roles. Create than a UserRole class. This class has to implement the interface IJsonTable which defines the Id of your future DB-table, like:
public class UserRole : IJsonTable
{
public ObjectId Id { get; set; }
public string Name { get; set; }
public override string ToString() => $"{Id} : {Name}";
}
In the program class, you create a new instance of MySQLDriver:
MySQLDriver driver = new MySQLDriver($"Server=YOUR_SERVER;Port=YOUR_PORT;Database=YOUR_DB;User=YOUR_USER;Pwd=USER_PASSWORD;");
Now, it is too easy to insert a new row in your table. You just need to call the method Save or SaveAsync:
bool result = driver.Save(new UserRole() { Name = "Administrator" });
Or,
bool result = await driver.SaveAsync<UserRole>(new UserRole());
The Save method, calls the method Update if the item exists already in the table, and Insert if not.
The same game with Delete and Async methods (SaveAsync, UpdateAsync, DeleteAsync, etc. ) …
Note
You dont have to create the table manually in the database. When you call Save the table will be created automatically if it doesn’t exists.
Table Structure
And here is an example of using the JsonTableAttribute:
[JsonTable(name:"YourTableName",jsonFieldName:"JsonDocument")]
public class UserRole : IJsonTable
{
   public ObjectId Id { get; set; }
   public string Name { get; set; }

   public override string ToString() => $"{Id} => {Name}";
}
Now if you run the driver.Save(new UserRole() { Name = "Administrator" }); again, a new table ‘YourTableName’ will be created and a new row (new role in this case) will be inserted:
Conclusion
It’s very simple to use and learn this package. It has only one class MySQLDriver that you can use also as a base class for other classes.
The idea is to create a base RecyclerView that can be used many times in your android application. To read more about the component visit this page.
Let’s start!
The View Holder,
Let’s start with View Holder that will be also a generic one. As discribed in the documentation page of the RecyclerView mentioned in the introduction, a new instance of the View Holder is created for each item in the list.
We create our abstract class (Of the View Holder) that defines two methods : – InitComponents() : Will be called to initialize the components of the ViewCard. – InitEvents() : Will be called to initialize the events of the ViewCard.
The ViewCardAction class is supposed to represent any action can be done in the ViewCard, and here its definition :
The Adapter,
The adapter, that provides the data source of the RecyclerView and binds each View with the data item, is also an abstract class that inherates from RecyclerView.Adapter.
Let’s see the full class and explain it :
As you see, the adapter defines a DataSource property of type DataCollection<T>. The DataCollection is a generic collection implements both interfaces IList and ICollection. Its role is to manage the items list of the adapter (add, delete, insert, count …). It should be like :
The DataCollectionItem defines the element of the collection. – The property IsSelected indicates if the item is selected. (Option) – The property IsExpanded indicates if the item is expanded. (Option)
All the events args are :
Thank you all, I hope you found something of important here 🙂 ..
I will publish a Simple Project as soon as possible..
Provides a full and clean solution to POST, GET,PUT or DELETE data to server using a Rest API..
Introduction
Most of developer are using Web APIs when creating Mobile, Desktop or Web Apps. Every Web API provides a nuber of methodes to be called in the client side : POST, GET, PUT, DELETE.